

How to Clean Car Seat Covers Without Damaging Fabric
Posted by YourCar Better on
To learn how to clean car seat covers without damaging fabric, match the cleaner and moisture level to the material, spot-test first, and work gently from stain treatment to thorough drying. Vacuum before applying any solution, avoid soaking the seat, and follow the cover maker’s care instructions—especially when cleaning neoprene car seat covers. These steps help lift dirt while reducing the risk of discoloration, wear, lingering odors, or moisture trapped in the cushion; to address dirt and moisture on the floor, compare rubber and carpet car floor mats.
What Cleaning Car Seat Covers Involves
Cleaning car seat covers means removing loose debris, treating stains with a material-appropriate product, and removing residue without saturating the cover or the seat beneath it. For more guidance on choosing and caring for car seat covers, start with the safest cleaning process: identify the material, test the cleaner in a hidden spot, use gentle agitation, and allow plenty of airflow for drying.
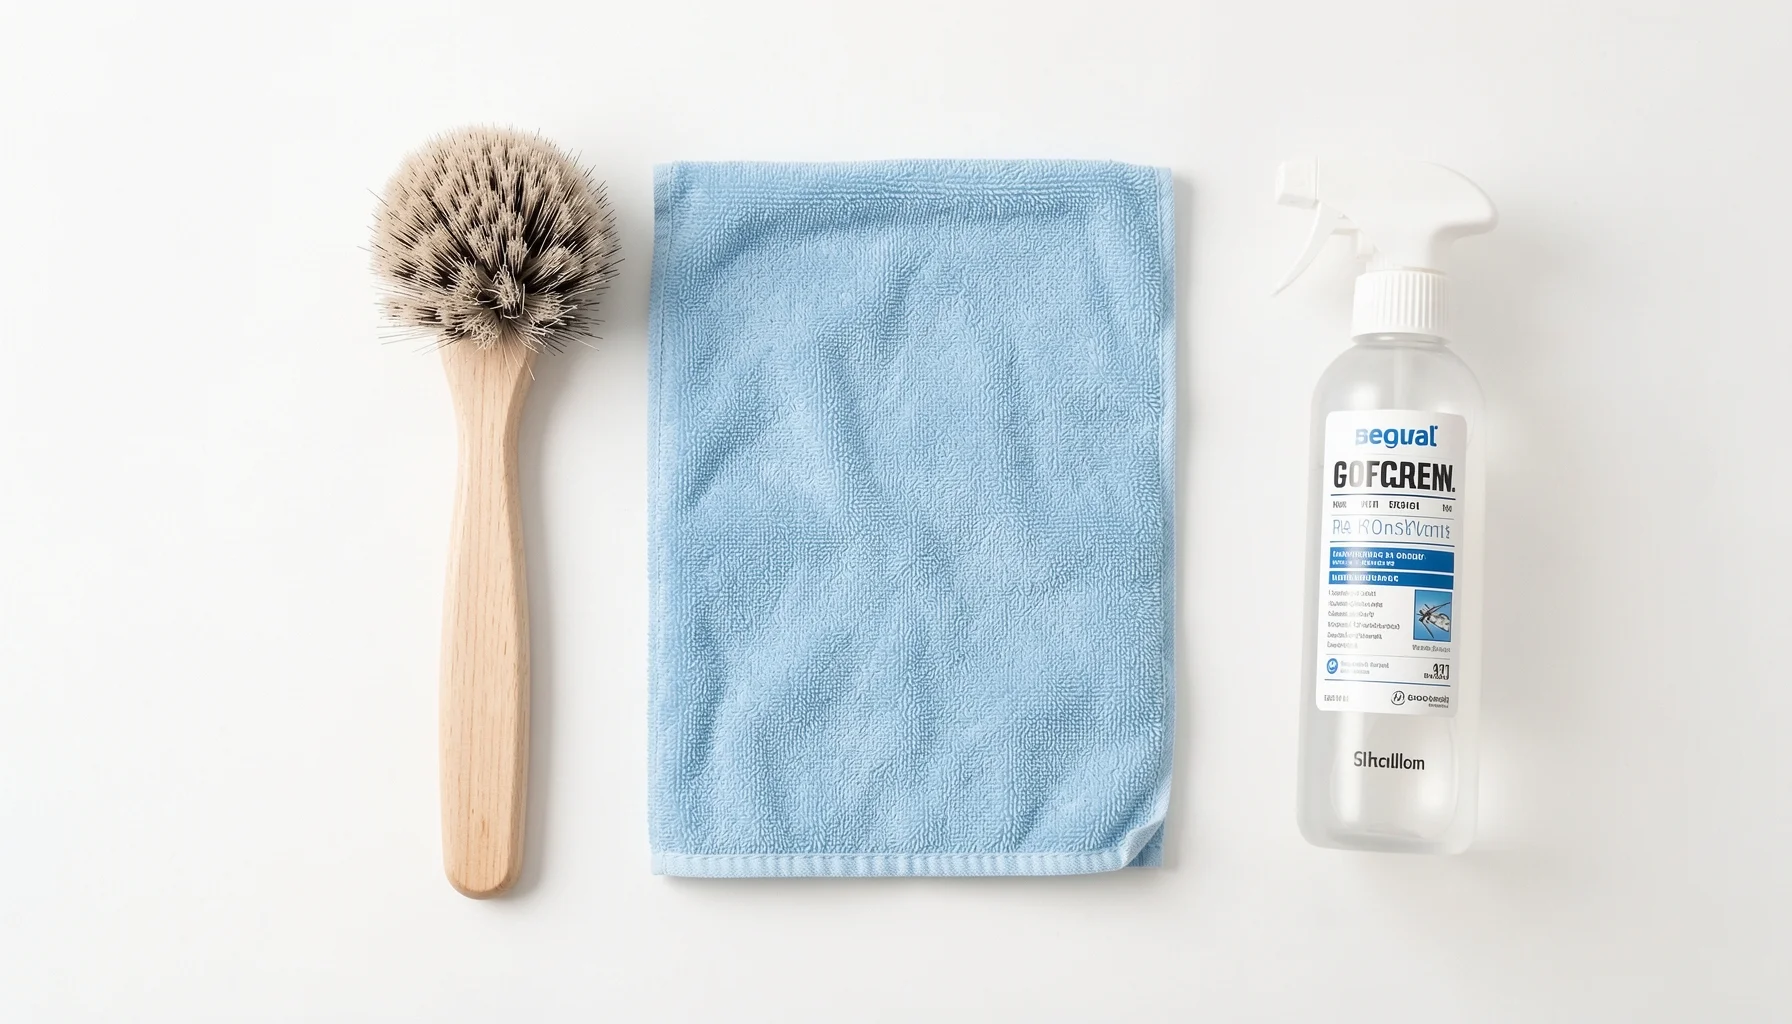 Hình: How to Clean Car Seat Covers Without Damaging Fabric - What Cleaning Car Seat Covers Involves
The cover material determines the method
“Car seat cover” can refer to a fitted accessory or to upholstery that is part of the seat. Either way, start by checking the manufacturer’s care label or instructions. A removable cover is not automatically machine-washable, and it should not be taken off unless its instructions allow it. If you cannot identify the material, use the least aggressive approach and avoid applying a strong or unfamiliar product.
For fabric and cloth, the priority is lifting soil and stains from the fibers, then extracting or blotting away the dirty solution. A soft-bristled brush can help loosen grime, but excessive scrubbing may cause delicate fabric to pill. For leather, use a pH-balanced leather cleaner and a microfiber applicator or cloth; follow with a suitable leather conditioner when the surface is clean and dry. For vinyl or other synthetic surfaces, choose a non-abrasive method to help preserve flexibility.
Neoprene requires extra caution. The supplied material-care guidance does not establish a universal neoprene cleaning formula. Check the cover maker’s directions before using water, soap, a brush, or a specialist product. If those instructions permit surface cleaning, test the proposed method somewhere inconspicuous first, use a small amount, and wipe gently rather than scrubbing or soaking.
Why moisture control matters
A seat can look dry on the surface while moisture remains in its padding. Excess liquid may seep into the cushion foam, where it can contribute to mold or mildew, persistent odors, and material deterioration. Use only enough cleaner to treat the surface, and remove as much moisture and residue as possible before drying.
The same principle applies to stains: more product and harder scrubbing are not automatically more effective. A measured application, a short dwell time, and gentle blotting or extraction are safer starting points. For organic stains and odors, an enzyme cleaner made for upholstery may help, but always confirm that it is suitable for the cover material and follow its label.
Compare Cleaning Methods by Material
The best cleaning method depends on the cover’s material and the type of soil. Fabric usually needs careful stain treatment and extraction; leather needs a pH-balanced cleaner and gentle wiping; and neoprene should be cleaned only according to its manufacturer’s care instructions.
Material-by-material cleaning specifications
Use this comparison as a starting point—not a replacement for the product label or the cover maker’s instructions. If the manufacturer specifies a different care method, follow that guidance.
| Material | Suitable starting method | Tools and products | Main precaution |
|---|---|---|---|
| Fabric or cloth | Vacuum, spot-treat, gently agitate, then blot or extract | Crevice tool, soft-bristled brush, upholstery cleaner, clean microfiber towel or wet/dry vacuum | Avoid excessive scrubbing and water; allow thorough airflow drying |
| Leather | Remove surface soil and wipe with a leather-appropriate cleaner | Microfiber applicator or cloth, pH-balanced leather cleaner, leather conditioner | Do not use an abrasive brush or saturate the leather |
| Vinyl or synthetic | Clean gently with a non-abrasive method | Clean microfiber cloth and a suitable mild or material-specific cleaner | Avoid abrasive tools that may damage the surface or affect elasticity |
| Neoprene | Follow the cover maker’s care directions; spot-test any permitted method | Only products and tools approved by the manufacturer | Do not assume fabric, leather, or machine-washing instructions apply |
A wet/dry vacuum or upholstery extractor can be useful for fabric when the equipment and cleaner are appropriate for the cover. A clean, damp microfiber towel is a lower-equipment option for blotting. For leather and vinyl, wipe away residue with a clean cloth rather than treating the surface like fabric and extracting it.
Choose products by stain and surface, not by guesswork
For routine surface dirt, start with vacuuming and the mildest suitable cleaner. For an identified stain, use a product designed for that type of upholstery and follow its directions. A mild dish-soap-and-water solution is one possible spot-treatment option in the standard cleaning workflow, but it should still be tested in a hidden area and applied sparingly.
For organic stains or persistent odors, an upholstery enzyme cleaner may be appropriate if its label confirms compatibility with the material. Do not mix cleaners or add a second product before removing the first. Residue can attract soil or leave a visible mark, so wiping or extracting the solution is part of the cleaning process—not an optional finishing step.
Avoid picking a product simply because it is marketed for “all interiors.” A cleaner suitable for cloth may not be appropriate for leather or neoprene. Read the label, check the care instructions, and perform a spot test before cleaning a visible area.
How to Clean Car Seat Covers Step by Step
To clean car seat covers safely, prepare the seat, test a suitable cleaner, treat stains, agitate gently, remove the dirty solution, and dry the area completely. The sequence is similar across materials, but the cleaning product, agitation, and residue-removal method should change to suit the cover.
Steps 1 and 2: Prepare and spot-test
Step 1: Clear and vacuum the seat. Remove trash and loose belongings, and take out floor mats so they do not interfere with the work. Vacuum the seat thoroughly, including seams, creases, and gaps, using a crevice tool. Removing grit first helps prevent debris from being rubbed into the surface during cleaning. If the cover is removable, take it off only if its manufacturer’s instructions permit removal and specify how to clean it.
Step 2: Identify the material and test the cleaner. Check the care label or product instructions. Apply a small amount of the proposed solution to an inconspicuous area, such as a hidden section beneath the seat if accessible. Wait and inspect for color transfer, discoloration, texture changes, or other damage before continuing. This spot test is essential even when using a product you have used elsewhere in the vehicle.
For leather, use a leather-appropriate, pH-balanced cleaner. For cloth, use an upholstery cleaner or another solution permitted by the cover maker. For neoprene, do not assume a cloth-cleaning method is suitable: use only a method the manufacturer allows.
Steps 3 and 4: Treat and gently agitate stains
Step 3: Apply cleaner to the affected area. Treat visible stains with a targeted upholstery cleaner or a mild dish-soap-and-water solution if appropriate for the material. Apply a small amount rather than soaking the seat. Let the product dwell for 3–5 minutes when its instructions permit; this gives the cleaner time to work without leaving it on longer than recommended. For products with a different label dwell time, follow the label.
For spills such as coffee, mud, or food, remove loose material first and work on the remaining mark. Avoid spreading a stain by scrubbing outward or applying cleaner to a much larger area than needed. For an odor that appears to come from organic contamination, consider an upholstery enzyme cleaner only after confirming material compatibility.
Step 4: Agitate lightly, if the material allows it. On fabric, use a soft-bristled brush and gentle strokes to work cleaner into the fibers. Delicate cloth can pill if scrubbed too hard, so stop if the fibers begin to look rough. On leather, use a microfiber applicator or cloth rather than a brush. For neoprene and other synthetics, follow the care instructions and use a non-abrasive approach. If the manufacturer does not approve brushing, do not brush.
Steps 5 and 6: Remove residue and dry fully
Step 5: Blot, extract, or wipe away the solution. On fabric, use a wet/dry vacuum or upholstery cleaner where appropriate, or blot with a clean, damp microfiber towel. The goal is to lift out the loosened soil and cleaner rather than leave residue behind. On leather and vinyl, wipe the surface with a clean cloth as directed, then remove remaining residue with a clean, dry microfiber cloth. Do not use a fabric extractor on leather.
Step 6: Dry with airflow and protect when suitable. Open the windows or use a fan to improve airflow. Make sure the seat is thoroughly dry before closing up the vehicle or using the seat again. Do not try to speed things up by applying more water or cleaner. Once the surface is clean and dry, an appropriate fabric protectant or leather conditioner may help restore a protective barrier. Use only a product suited to that material and follow its directions.
Pro Tips, Pitfalls, and a 2026 Care Plan
The most reliable way to prevent cleaning damage is to use less moisture, test products first, and choose tools for the surface being cleaned. For 2026 maintenance, a practical routine is regular vacuuming, prompt attention to spills, careful odor treatment, and thorough drying—not a one-size-fits-all chemical or an unsupported promise of complete sanitation.
Common problems and how to avoid them
The seat feels damp long after cleaning: This may indicate that too much solution was applied or that moisture remains in the cushion. Stop adding product, remove surface moisture with the appropriate towel or extraction method, and increase airflow. Avoid repeatedly soaking the same area.
A stain looks worse after drying: Cleaner residue or soil that was not fully removed may be contributing to the appearance. Check the product directions, then consider a careful second pass using an appropriate amount of cleaner and proper blotting or extraction. Test again if changing products.
Fabric looks fuzzy or worn: Excessive brushing can damage delicate fibers or cause pilling. Use lighter pressure and shorter, gentler strokes—or switch to blotting if agitation is unnecessary.
A leather seat looks dry after cleaning: Cleaning and conditioning are separate steps. When the leather is clean and dry, use a suitable leather conditioner according to its label; do not substitute a fabric protectant.
An odor remains: Odor may be trapped deeper than the visible stain. For organic contamination, an enzyme upholstery cleaner may help if it is suitable for the material. Avoid masking the odor with fragrance or repeatedly wetting the seat; moisture control still matters.
Real-world examples: respond to the mess, not just the mark
For a fresh coffee spill on cloth, remove any loose debris, blot excess liquid rather than rubbing it deeper, and spot-test a compatible upholstery cleaner. Treat the affected area, allow the cleaner to dwell according to its directions, and blot or extract the solution. Then dry with airflow and check the cushion before using the seat.
For mud on a fabric cover, let loose dirt be removed without grinding it into the weave, then vacuum thoroughly. Apply a suitable cleaner to any remaining mark and use gentle brush strokes. If the stain does not lift, avoid escalating straight to aggressive scrubbing: repeat a careful treatment only if the product directions allow it.
For a food-based odor, remove visible material and vacuum first. A compatible enzyme cleaner may be useful for organic residue, but follow its label and spot-test. On leather, vinyl, or neoprene, use only methods approved for that surface. In every case, the goal is to remove residue and dry the seat—not to flood it with deodorizer.
A realistic routine and the 2026 outlook
For most vehicle owners, vacuuming every two weeks is a practical baseline to reduce the buildup of loose soil that can contribute to stains and fiber wear. Deal with spills promptly when possible, and reserve deeper cleaning for visible soil, persistent odors, or resale preparation. Parents managing food spills and drivers cleaning up after a commute can use the same basic workflow: identify the material, treat the affected area, remove residue, and dry thoroughly.
In 2026, useful interior-care priorities include post-commute cleaning, odor remediation, and preparing a vehicle for sale. These needs do not make every seat cover washable or justify stronger products. At yourcarbutbetter.com, our maintenance guidance emphasizes matching the process to the upholstery, spot-testing first, and controlling moisture. There is no single percentage benchmark that determines when a seat is clean; material instructions and the condition of the cover are more useful than a universal claim.
If you are selecting a replacement or accessory cover, you can browse Galaxy car seat covers or Corpse Bride car seat covers. Check the specific product’s care instructions before cleaning; a design or product category alone does not establish its material or washability.
FAQ
These quick answers reinforce the safest general approach: check the cover’s care directions, test cleaners discreetly, use minimal moisture, and dry the seat thoroughly. When a product label or manufacturer instruction differs from general advice, follow the instructions for your specific cover.
How often should I clean car seat covers?
Vacuum regularly; every two weeks is a practical baseline for removing loose debris before it becomes embedded. Spot-clean spills as they happen when possible, and deep-clean when the seat is visibly soiled or has a persistent odor. The right schedule also depends on how the vehicle is used.
Can I use the same cleaner on fabric, leather, and neoprene?
No. Use a cleaner labeled as suitable for the material and follow the cover maker’s directions. Fabric cleaners, leather products, and methods approved for neoprene are not automatically interchangeable. Always test a cleaner on a hidden area before applying it to a visible surface.
How do I clean car seat covers without leaving them wet?
Apply only a small amount of cleaner, avoid saturating the seat, and remove residue using the appropriate method. Blot or extract fabric; wipe leather or vinyl as directed. Then open the windows or use a fan to create airflow and allow the seat to dry fully.
Is it safe to use a brush on car seat covers?
A soft-bristled brush may be suitable for gently agitating fabric, but excessive scrubbing can cause delicate fibers to pill. Use a microfiber cloth or applicator on leather, and check the manufacturer’s instructions before brushing neoprene or other synthetic materials.