

Step-by-Step Guide: How to Install Front and Rear Car Seat Covers
Posted by YourCarButBetter on
To install car seat covers, clean and dry the seats, check that the covers suit your seat layout, then position and secure each piece without obstructing seatbelts or side-impact airbags. Most installations use the cover’s openings, straps, hooks, or elastic loops; the exact fit and steps vary by vehicle and product, so follow the included instructions.
What Car Seat Covers Do and How They Fit
Car seat covers sit over factory upholstery to help shield it from everyday dirt, wear, spills, and pet hair while changing the cabin’s appearance. Installation is a matter of aligning each cover with the seat and securing it so it stays in place without interfering with built-in safety systems.
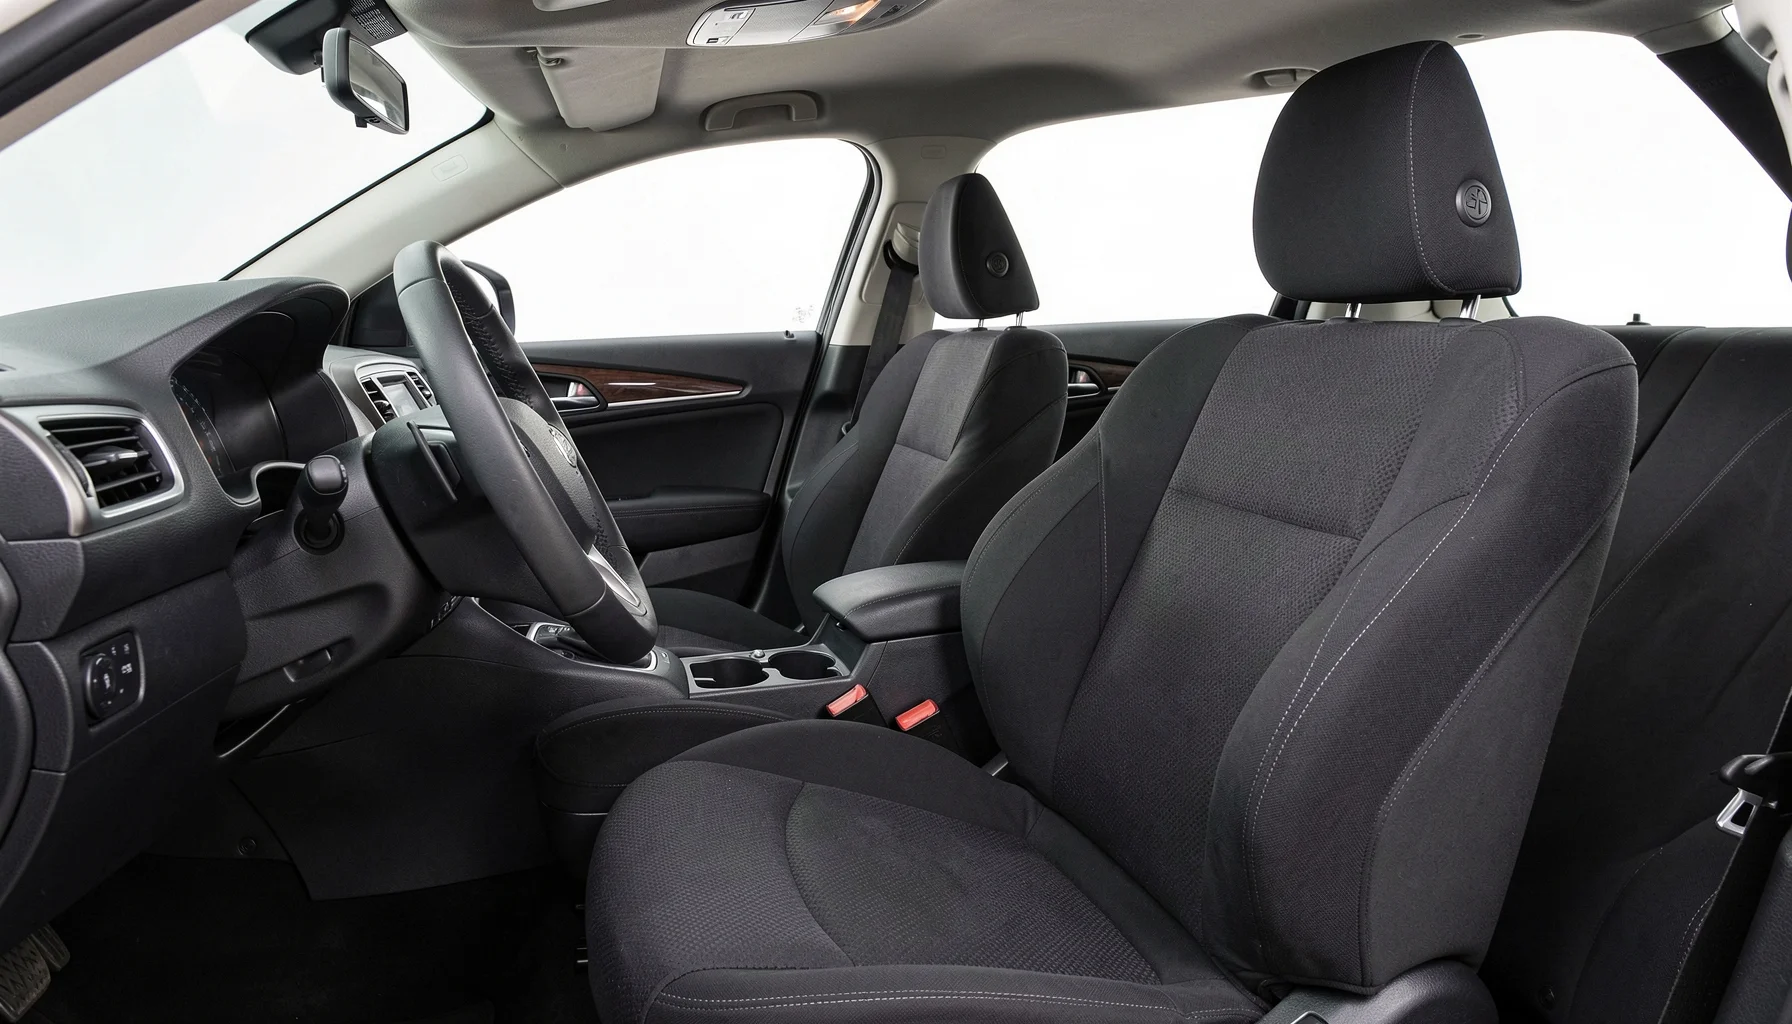 Step-by-Step Guide: How to Install Front and Rear Car Seat Covers - What Car Seat Covers Do and How They Fit
“Universal” and “semi-custom” describe broad fit approaches, not a guarantee that a cover will suit every seat. A universal design may accommodate a range of seat shapes, while a semi-custom design may be intended for a narrower set of configurations. Check the product details and your vehicle’s seats before installation; do not assume fit, material, water resistance, or airbag compatibility.
Before starting, inspect the front and rear seats for features that affect fit:
- Headrests: Removable or fixed, and whether the cover has designated openings.
- Seatbelts: Integrated into the seat or anchored elsewhere.
- Armrests and split seats: Check for separate pieces, openings, or folding functions.
- Side-impact airbags: Identify their location and keep them unobstructed.
A properly positioned cover should stay centered and allow normal access to seatbelt buckles and controls. If it blocks an airbag or prevents a seatbelt from working correctly, do not use it on that seat.
How to Install Front and Rear Car Seat Covers
The general process is to prepare the cabin, fit each cover to its matching seat, fasten it to stable points, and check that it remains secure. The steps below are a practical starting point; product instructions take priority because designs and vehicle layouts differ.
| Installation stage | What to do | Check before moving on |
|---|---|---|
| Preparation | Remove debris, vacuum the factory upholstery, and make sure seats are dry. Move front seats to improve access underneath. | The work area is clean, dry, and accessible. |
| Seat-back fit | Remove headrests if applicable. Slide or drape the cover over the backrest, aligning seams and openings with the seat. | Openings match the headrest, seatbelt, and other seat features. |
| Cushion fit | Position the cushion section evenly. If there is a connecting flap, push it through the seat-back and cushion crevice as directed. | The cover is centered and does not bunch or cover a buckle. |
| Fastening | Attach straps, hooks, or elastic loops beneath the seat to stable frame components. | Fasteners avoid wiring, moving parts, and adjustment mechanisms. |
| Final check | Smooth wrinkles, reinstall headrests through designated openings, and test the seatbelt. | The cover stays in place and does not interfere with safety systems. |
Step-by-step installation
-
Prepare the seats. Remove loose items and debris, vacuum the factory upholstery, and let the area dry. Move a front seat forward or backward as needed to reach underneath. For rear seats, check whether the seat or backrest folds and follow the vehicle and cover instructions.
-
Confirm the cover’s position. Match each cover to its intended seat and identify openings, labels, straps, hooks, and elastic loops before fitting. Recheck the seat’s headrests, armrests, belt anchors, and airbag locations. Do not force fabric over a feature that has no corresponding opening.
-
Fit the backrest and cushion. Remove headrests if the vehicle allows it and the cover design requires it. Drape the cover over the backrest, align its seams with the seat contours, then fit the cushion section. If the design includes a flap, guide it through the seat crevice as instructed.
-
Secure the fasteners. Pull the cover into position without overstretching it. Connect straps, hooks, or loops beneath the seat to stable metal components. Keep fasteners clear of electrical wiring, moving parts, and adjustment mechanisms; do not attach them where they could snag or restrict seat movement.
-
Adjust and verify. Smooth out wrinkles and center the cover. Reinstall removable headrests through the designated openings. Sit on the seat to see whether the cover shifts significantly, then operate the seatbelt and check access to buckles and adjustments. Stop if the cover obstructs a safety system.
For a broader walkthrough, see YourCarButBetter’s practical guide to installing car seat covers correctly.
Practical Checks, Care, and 2026 Considerations
YourCarButBetter recommends treating installation as a fit-and-safety check, not simply a fastening task. In 2026, the practical priority remains the same: verify the actual seat configuration and product instructions, then confirm that the cover stays put without restricting seatbelts, airbags, or seat movement.
Useful installation tips:
- Work one seat at a time so pieces and openings do not get mixed up.
- Take a quick photo of the original seat layout if you need to remember where openings or buckles sit.
- Use a small hook tool or pliers only if helpful for reaching a fastener; specialized automotive tools are usually not required.
- Recheck the underside after moving the seat through its normal adjustment range.
- Follow the product’s care instructions and clean removable covers regularly to help maintain both the cover and the upholstery beneath it.
Do not rely on the terms “universal” or “semi-custom” alone to determine compatibility. Compare the cover’s stated fit information with your seat features, and contact the seller or manufacturer if instructions are unclear. If installation requires forcing a cover, hiding a buckle, or covering an airbag area, stop and reassess. A neat appearance is never more important than the correct operation of vehicle safety equipment.
FAQ
Can I install universal or semi-custom seat covers the same way?
The general process—positioning the cover, aligning openings, and securing its fasteners—is similar, but the fit and details can differ. “Universal” does not mean every seat will fit, and semi-custom designs may suit a narrower range. Check the product instructions and your seat configuration before installation.
How do I know if a seat cover is safe to use?
Check that the cover does not obstruct a side-impact airbag, seatbelt buckle, or belt mechanism, and that it does not prevent normal seat adjustment. Test the belt and check for significant shifting after fitting. If the cover interferes with a safety system, remove it and do not use it on that seat.