

Troubleshooting Rear Seat Cover Installation: Tips and Tricks
Posted by YourCarButBetter on
Rear seat cover installation is the process of fitting a protective or decorative cover over a vehicle’s rear seat cushion and backrest. A smooth fit depends on clean upholstery, correct alignment, accessible seat belts and anchors, and secure attachment. Before starting, check the cover’s instructions and your seat layout, especially if the bench splits, has an integrated armrest, or uses non-removable headrests.
Why rear seat cover fit and seat layout matter
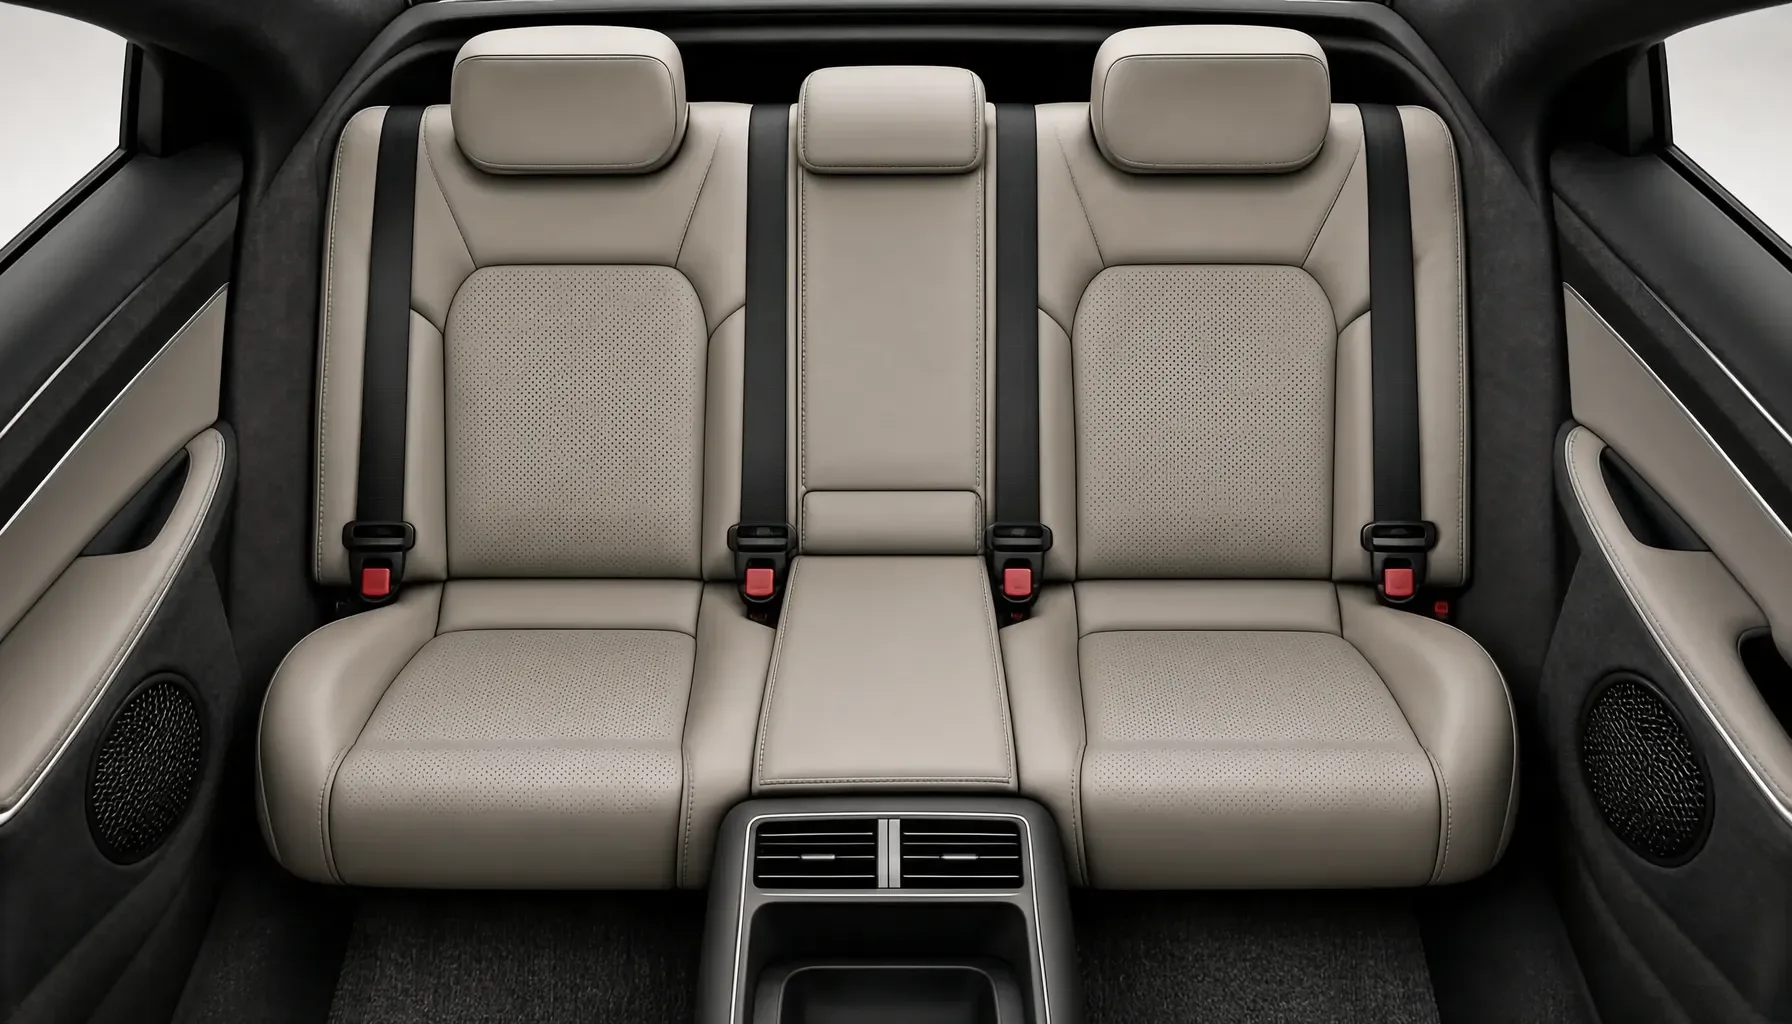 Troubleshooting Rear Seat Cover Installation: Tips and Tricks - Why rear seat cover fit and seat layout matter
A properly positioned cover can help shield existing upholstery from everyday wear, crumbs, spills, and pet-related mess, while changing the look of the cabin. It does not replace careful cleaning or make an incompatible seat cover suitable for a vehicle. Fit depends on how the vehicle’s rear bench, backrest, headrests, and safety features are arranged.
Rear seats vary. Some have a single cushion; others split into sections that fold independently. A center armrest, fixed headrests, or unusual seat-belt openings can also affect how a cover sits. Check these features before installation and compare them with the cover’s design. If the cover does not provide a suitable opening for a buckle or cannot accommodate the seat shape, do not force it into place.
A cover that bunches or shifts may be uncomfortable and can obstruct access to a buckle or anchor point. Seat belts and child safety seat anchors must remain accessible and usable. Do not cover, bury, or alter these components to achieve a tighter appearance. If the vehicle has integrated safety features in the seat, confirm that the cover is suitable for that specific arrangement.
For families, keeping buckles accessible makes it easier to use the rear seat as intended. Pet owners may value upholstery protection, but should still check the cover after use for shifted fabric or loosened straps. YourCarButBetter’s practical guidance is to treat the vehicle’s seat configuration and the product’s instructions as a pair: neither should be ignored when deciding how to fit a cover.
What to check before fitting the cover
The table below links common seat features with the practical check to make before and during installation. Use it as a quick reference, then follow the instructions supplied with your particular cover; attachment methods and openings vary by design.
| Seat feature or installation point | What to check | Practical action |
|---|---|---|
| Upholstery and seat crevices | Crumbs, debris, loose items, or dirt beneath the cover | Remove loose items and vacuum the cushion, backrest, and crevices |
| Adjustable headrests | Release buttons at the base of the posts | Press the buttons and pull the headrests upward if removal is required |
| Split-folding bench | Whether the seat sections fold separately | Check that the cover suits the split and does not prevent normal movement |
| Backrest and cushion | Seams, contours, and the cover’s orientation | Center the cover and align its seams with the seat shape |
| Seat-belt buckles and latches | Correct openings and clear access | Pull each buckle through its designated opening; check function afterward |
| Straps, hooks, or elastic loops | Intended attachment points | Secure them as directed without pulling against seat components |
| Seat-back crease | Whether excess fabric can be tucked without blocking anything | Tuck fabric into the crease for a closer fit, keeping belts and anchors clear |
| Child-seat anchors and other safety features | Whether fabric covers or obstructs access | Keep anchors and integrated features accessible; stop if the cover interferes |
A practical installation sequence
-
Prepare the seat. Remove debris and loose items, then vacuum the rear cushion and backrest. A clean surface helps the cover lie more evenly and makes it easier to spot fabric that is caught in a crease.
-
Check whether the bench must move. Most installations can be approached by placing the cover over the existing seat. If the product instructions call for raising or removing a bench cushion, first check the vehicle owner’s manual for the correct procedure. Do not force the bench or release parts without vehicle-specific instructions. If removal is unclear, install without removing it or seek qualified help.
-
Remove adjustable headrests if required. Find the release buttons at the base of the posts, press them, and pull the headrests upward. Some seats have headrests that do not detach; do not force them. Check whether the cover has designated headrest openings or a method for fitting around fixed headrests.
-
Position the cover. Drape it over the backrest and cushion, aligning seams with the seat contours. Identify the openings for buckles before attaching straps so you do not have to pull the cover off and reposition it later.
-
Secure and tuck. Use the supplied straps, hooks, or elastic loops at their intended attachment points. Tuck excess fabric into the seat-back crease where appropriate, but do not trap a buckle, latch, anchor, or moving seat section.
Fixing common fit problems and checking safety
Most installation problems come from misalignment, trapped fabric, or a cover that does not match the seat layout. Make small adjustments before tightening the attachments; pulling harder can distort the cover or place tension where it is not intended.
- The cover looks uneven: Re-center it and compare the seams with the backrest and cushion contours. Check that one side is not pulled farther down than the other.
- Fabric bunches at the seat-back crease: Loosen the attachment slightly, smooth the fabric, and tuck only the excess. Avoid forcing material into a space that contains a seat belt or anchor.
- A buckle is hard to reach: Stop and reposition the cover so the buckle passes through its designated opening. Do not stretch fabric over the buckle or leave it buried underneath.
- The backrest will not fold as expected: Check whether the cover is caught across a split or moving section. Follow the product instructions and keep the seat’s normal movement unobstructed.
- Headrest openings gape or slip: Align the openings with the headrest posts and smooth the surrounding fabric. Reinstall removable headrests by sliding the posts into their mounting holes until they click into the locked position.
When the cover is in place, test each seat belt: pull the buckle and latch through the opening, fasten and release the belt, and confirm that fabric does not obstruct its operation. Check that child safety seat anchors remain accessible and that no integrated safety feature is covered or restricted. If an opening or attachment arrangement does not fit the seat, stop rather than modifying the cover or compromising access.
Finish by smoothing wrinkles and checking that straps and hooks are secure without being overstretched. Recheck the fit after regular use and during routine interior cleaning, since fabric can shift or stretch slightly. Retuck loose fabric and restore buckle access whenever needed. For additional context on seat-cover safety and fit considerations, see YourCarButBetter’s heated car seat cover compatibility guide.
FAQ
Do I need to remove the rear bench to install a seat cover?
Not necessarily. Many covers can be positioned over the seat without removing the bench. If the cover’s instructions require raising or removing a cushion, consult the vehicle owner’s manual and follow its procedure. Do not force the bench or guess how its attachments release; seat layouts and attachment methods vary.
How can I make sure the cover does not interfere with seat belts or child-seat anchors?
Before tightening the cover, pull every seat-belt buckle through its designated opening and confirm the belt fastens and releases normally. Check that child-seat anchors remain accessible and that fabric does not cover integrated safety features. If the cover blocks access or restricts operation, reposition it or stop using it on that seat.